I was reading an article entitled A Forgotten Fame in the German Arts magazine, Schirn Mag. It was about the life and works of the Austrian artist Bronislawa (Broncia) Pinell, later, Broncia Koller-Pinell and the headline read:
“…Broncia Koller-Pinell is listed as one of Austria’s most important female artists of the turn of the 20th century – but today her name has been almost entirely forgotten…”
She was an Austrian Expressionist painter who specialized in portraits and still-lifes. I was fascinated by what I read and so I decided to feature the young Austrian painter in one of my blogs. It is a strange story as she was listed as one of the most important Austrian artists of the turn of the 20th century – even though her name has by now largely slipped into obscurity.
Had you heard of her ?
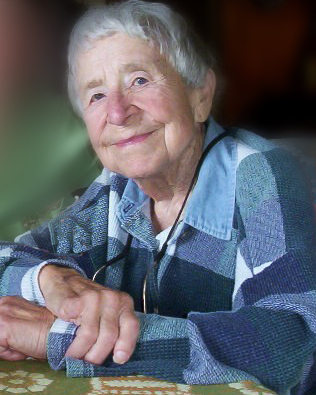
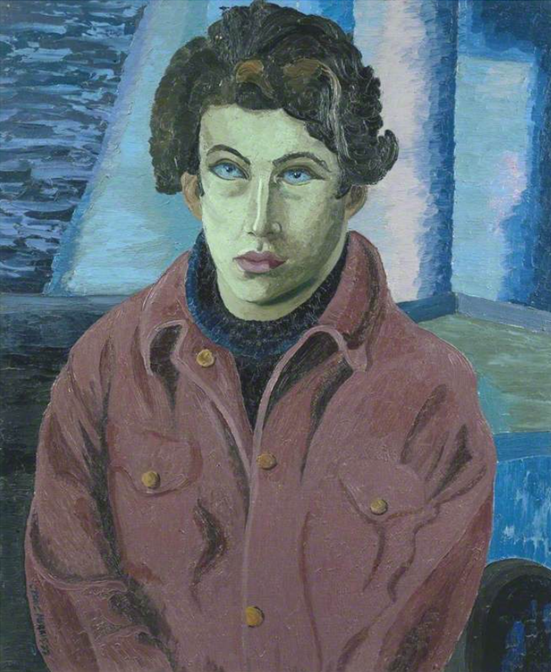
Self Portrait by Broncia Koller-Pinell
Bronislawa (Broncia) Pineles was born on February 23rd 1863 in the town of Sanok, which is situated in the extreme south-east of Poland close to both the Polish and Ukrainian borders. She was one of five children brought up by Orthodox Jewish parents, Klara Chaja and Saul Pineles, an architect of military fortifications. She was the fourth-born of five children and had two older brothers, Markus and Stanislaus and an older sister Erika, and younger brother Friedrich. Later in life, Dr. Stanislaus Pineles, became a lawyer and lecturer at the University of Vienna, and Friedrich Pineles, a physician at the Wiener Allgemeine Krankenhaus and later head of the Franz-Josefs Ambulatorium.

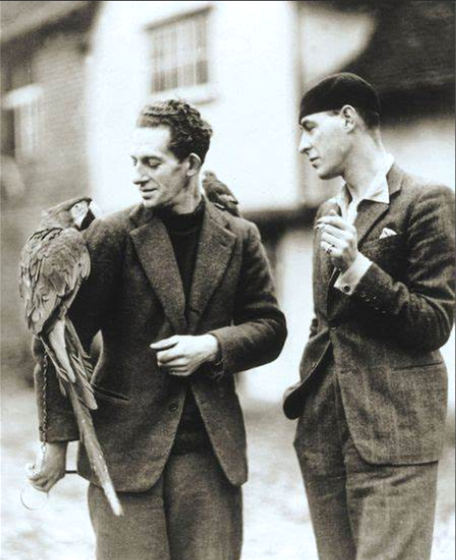
Egon Scheile and his wife Edith by Broncia Koller-Pinell (1918)
At the age of seven, Broncia moved with her family to Vienna. Her father had set up a manufacturing business just outside the city. It was also the time when the family name was changed to “Pinell”. Broncia developed a love of art and her father Saul did everything he could to nurture his daughter’s love of painting and sketching. When she was eighteen, he had her receive private lessons from the sculptor Josef Raab and after Raab’s death in 1883, she was tutored by Alois Delug, the Austrian painter and later a professor at the Academy of Fine Arts, Vienna.

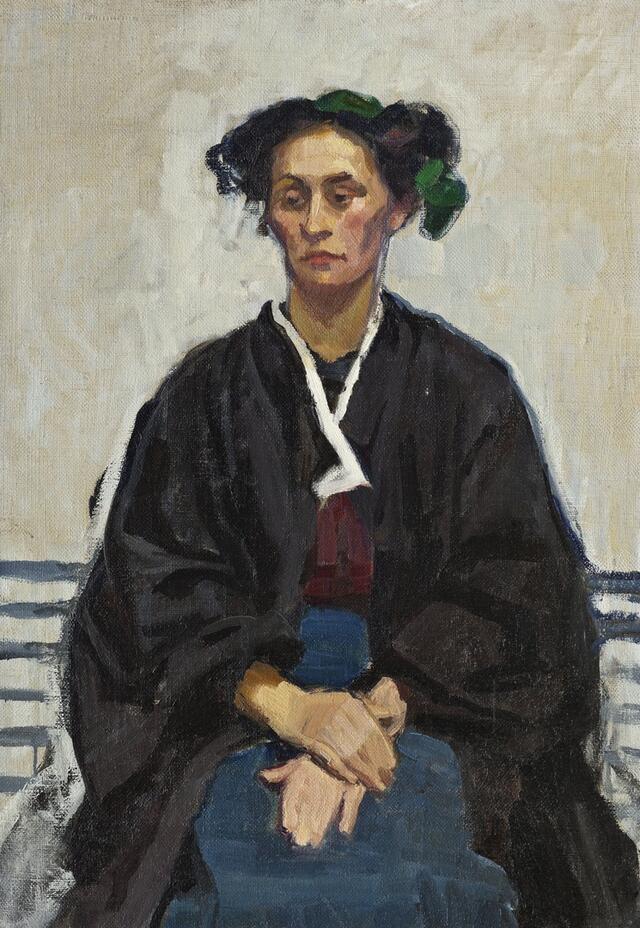
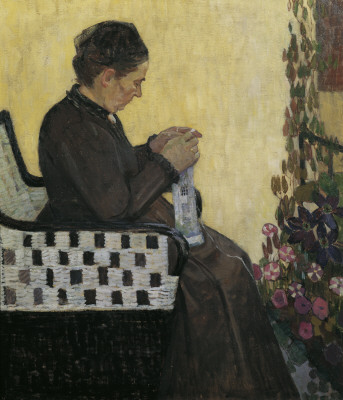
Seated Woman (Marietta) by Broncia Koller-Pinell (1907)
In 1885, Broncia went to Munich and enrolled at the so-called “Ladies Academy” at the Munich Kunstverein and this presented the young painter with the opportunity to further professionalize her skills in a single-sex art class. The Munich Women Artists’ Association was founded in 1882 and according to the statutes, the primary goal was:
“…to give the ladies of the arts and crafts the opportunity for mutual stimulation in their work and mutual support in their endeavours, to raise a sense and taste for beauty and to develop artistic understanding in women’s circles more and more…”
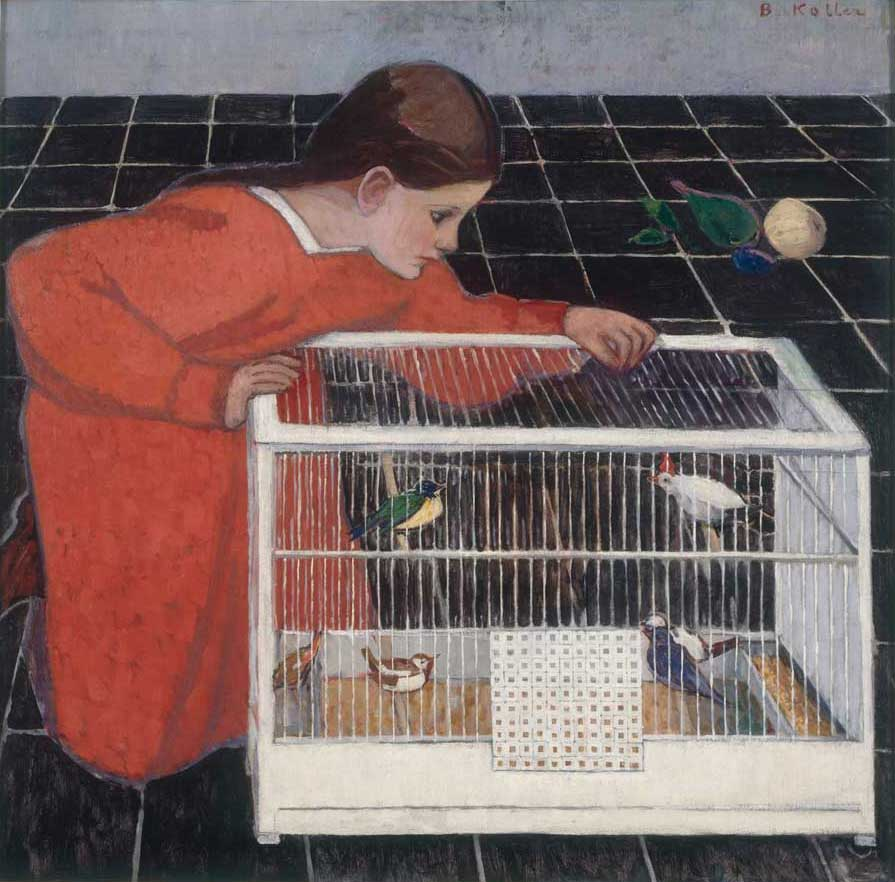
Silvia Koller with Bird Cage by Broncia Koller-Pinell (c.1905)
It was during her five-year stay at the Lady’s Academy that she was able to study in the ateliers of the German artist and educator, Ludwig Heterich and Ludwig Kühn, the German Impressionist and Modernist artist.
The Artist’s Mother by Broncia Koller-Pinell (1907)
Broncia Pinell began exhibiting her work in 1888. However, it was not until 1892 when she achieved her first success with her paintings when they were exhibited at the Künstlerhaus in Vienna. The following year her paintings were well received at the Glaspalast in Munich and in 1894 at the Kunstverein in Leipzig. In 1896 she exhibited her works for the first time at the International Art Exhibition in Vienna.

Sleeping Child (The Artist’s Daughter, Sylvia) by Broncia Koller-Pinell (1903)
The year 1896 was also an important one for Broncia for this was the year she married Dr. Hugo Koller, a German Catholic physician and physicist, who studied medicine as well as mathematics and physics at the University of Vienna. This decision did not please her family because she was Jewish and her husband was Catholic and the children were raised as Christians, albeit Broncia did not convert to Catholicism. After marrying, the couple lived in Salzburg and later Nuremburg where Hugo held a leading position at Schuckert & Co., a German electricity company based in the city. Whilst living in Nurenburg, they had two children, Rupert in 1896 and Silvia in 1898. More about them later. In 1903 the family resettled in Vienna.
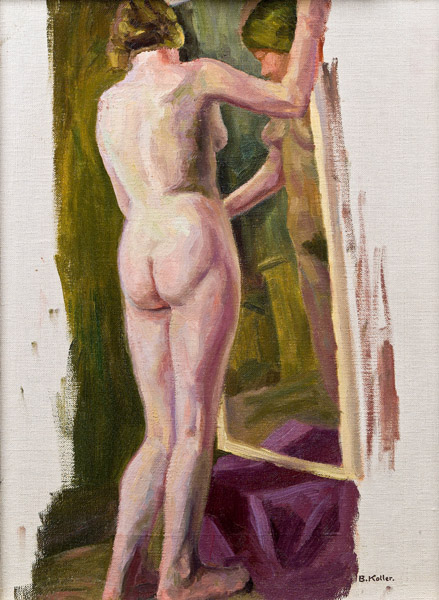
Nude standing in Front of a Mirror by Broncia Koller-Pinell (1904)
Once settled in Vienna, Broncia actively participated in the circles around the Vienna Secession, which was also known as the Union of Austrian Artists, or Vereinigung Bildender Künstler Österreichs. It was formed in 1897 by a group of Austrian painters, graphic artists, sculptors and architects, including Josef Hoffman, Koloman Moser, Otto Wagner and Gustav Klimt. The latter becoming a friend of Broncia and her husband. The Vienna Secession was an art movement, closely associated with Art Nouveau. The artists who formed this organisation were opposing the domination of the official Vienna Academy of the Arts, the Vienna Künstlerhaus, and official art salons, with their traditional orientation toward Historicism. Broncia was also involved with the Wiener Werkstätte, which was an association formed and brought together architects, artists, designers and artisans working in ceramics, fashion, silver, furniture and the graphic arts.
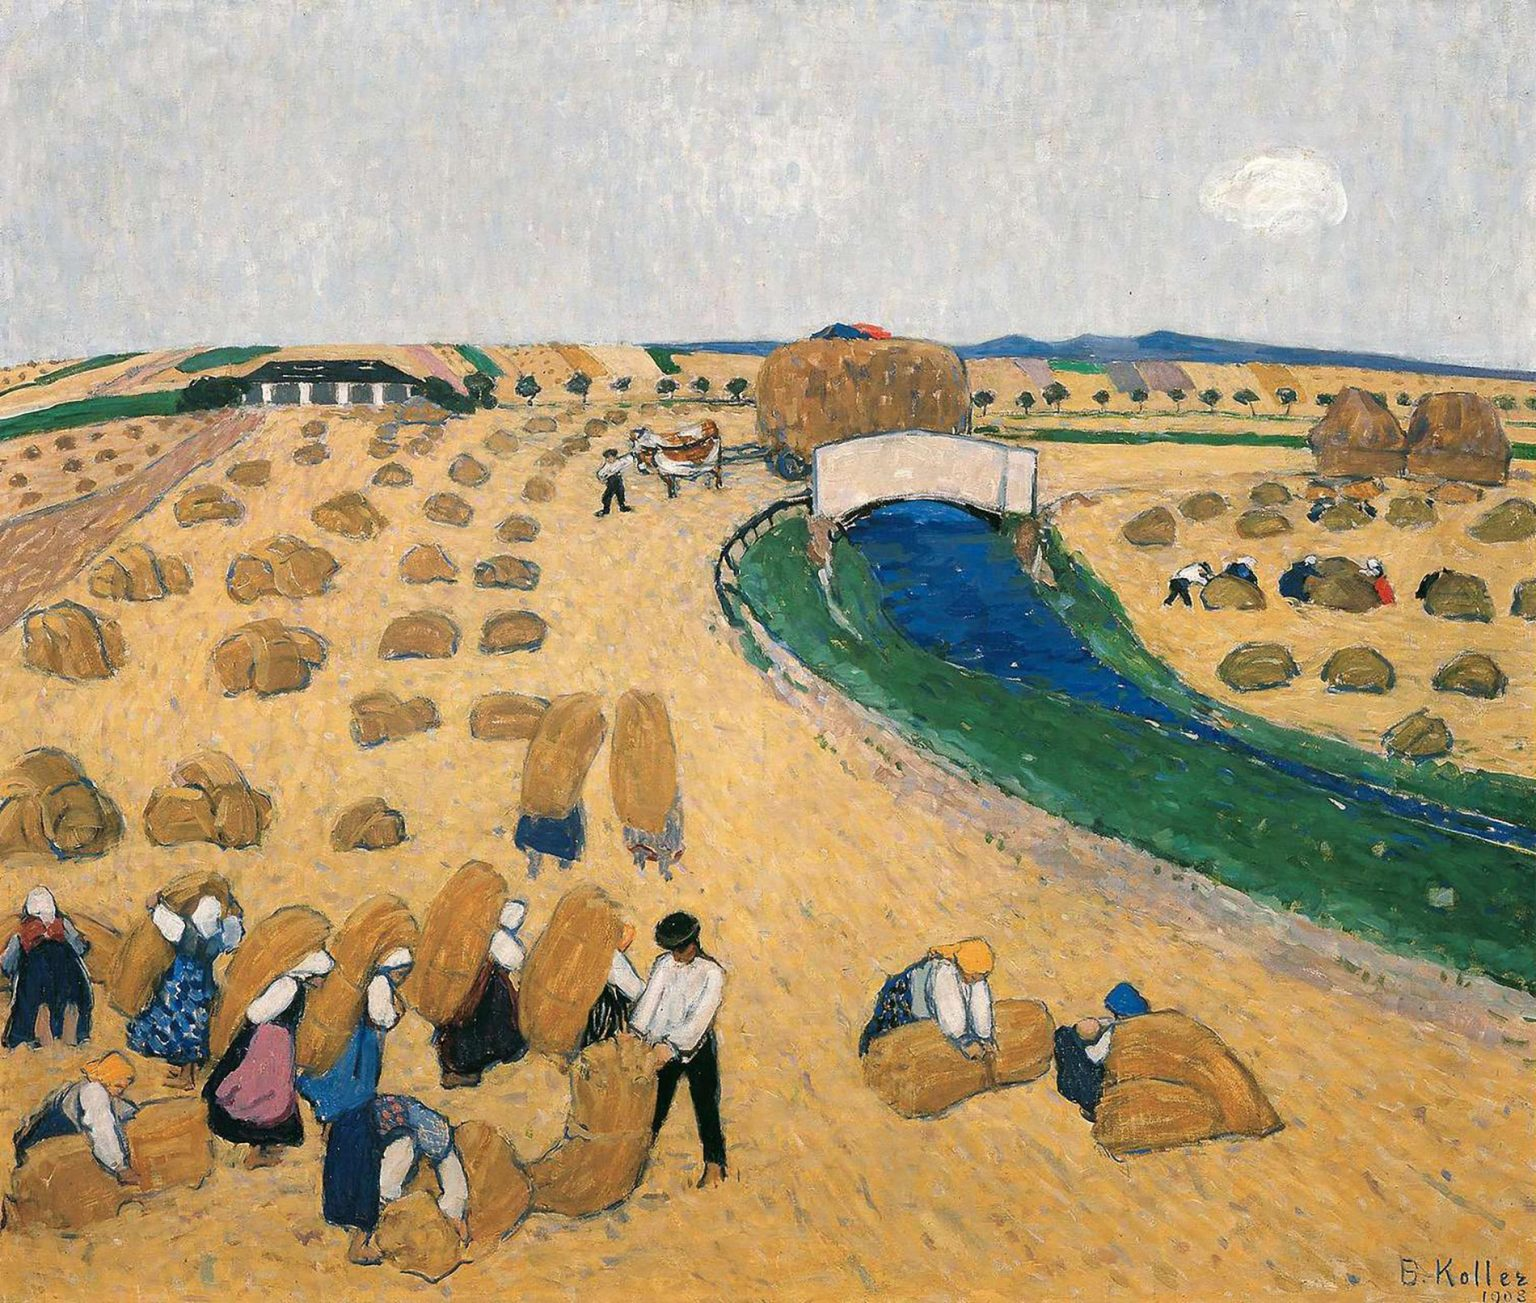
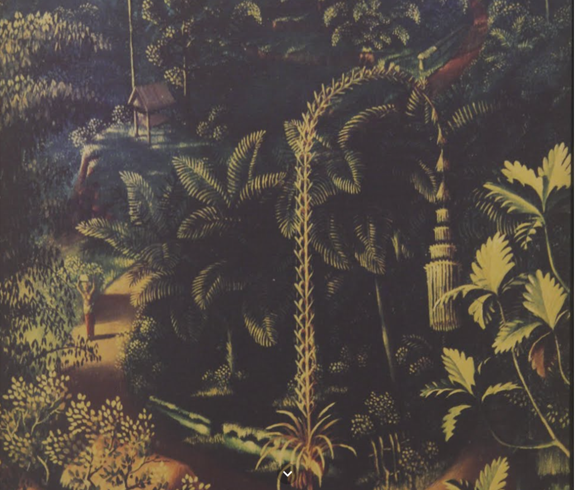
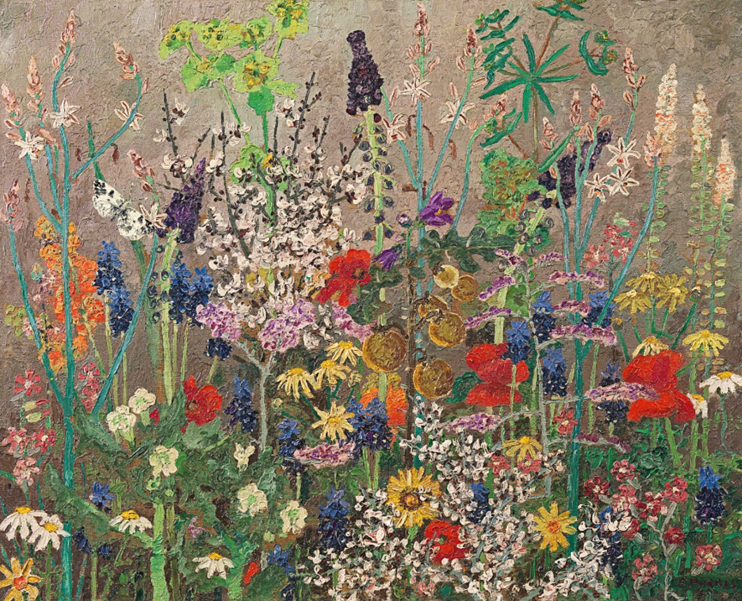
Die Ernte (The Harvest) by Broncia Koller-Pinell (1908)
Broncia’s husband Hugo Koller was an art collector and patron of the arts and he endorsed his wife’s artistic work and, through his good relations with the Secessionists and artists of the Wiener Werkstätte, he facilitated her access to exhibitions. In 1898 the family moved to Nuremberg. In 1903 the family moved back to Vienna and lived right next door to the Theater an der Wien.
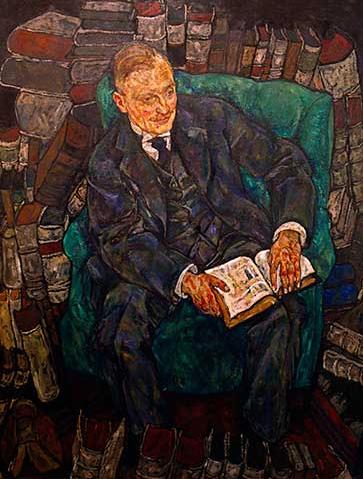
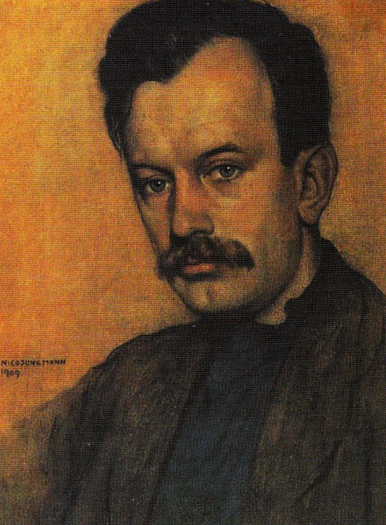
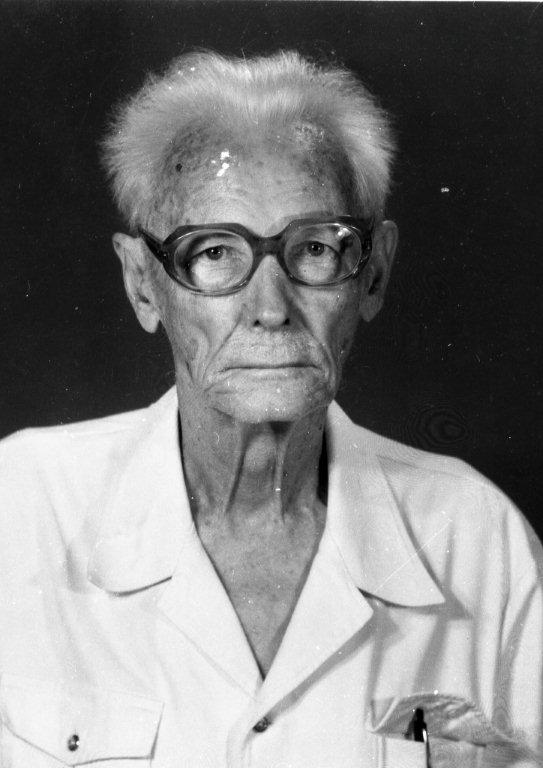
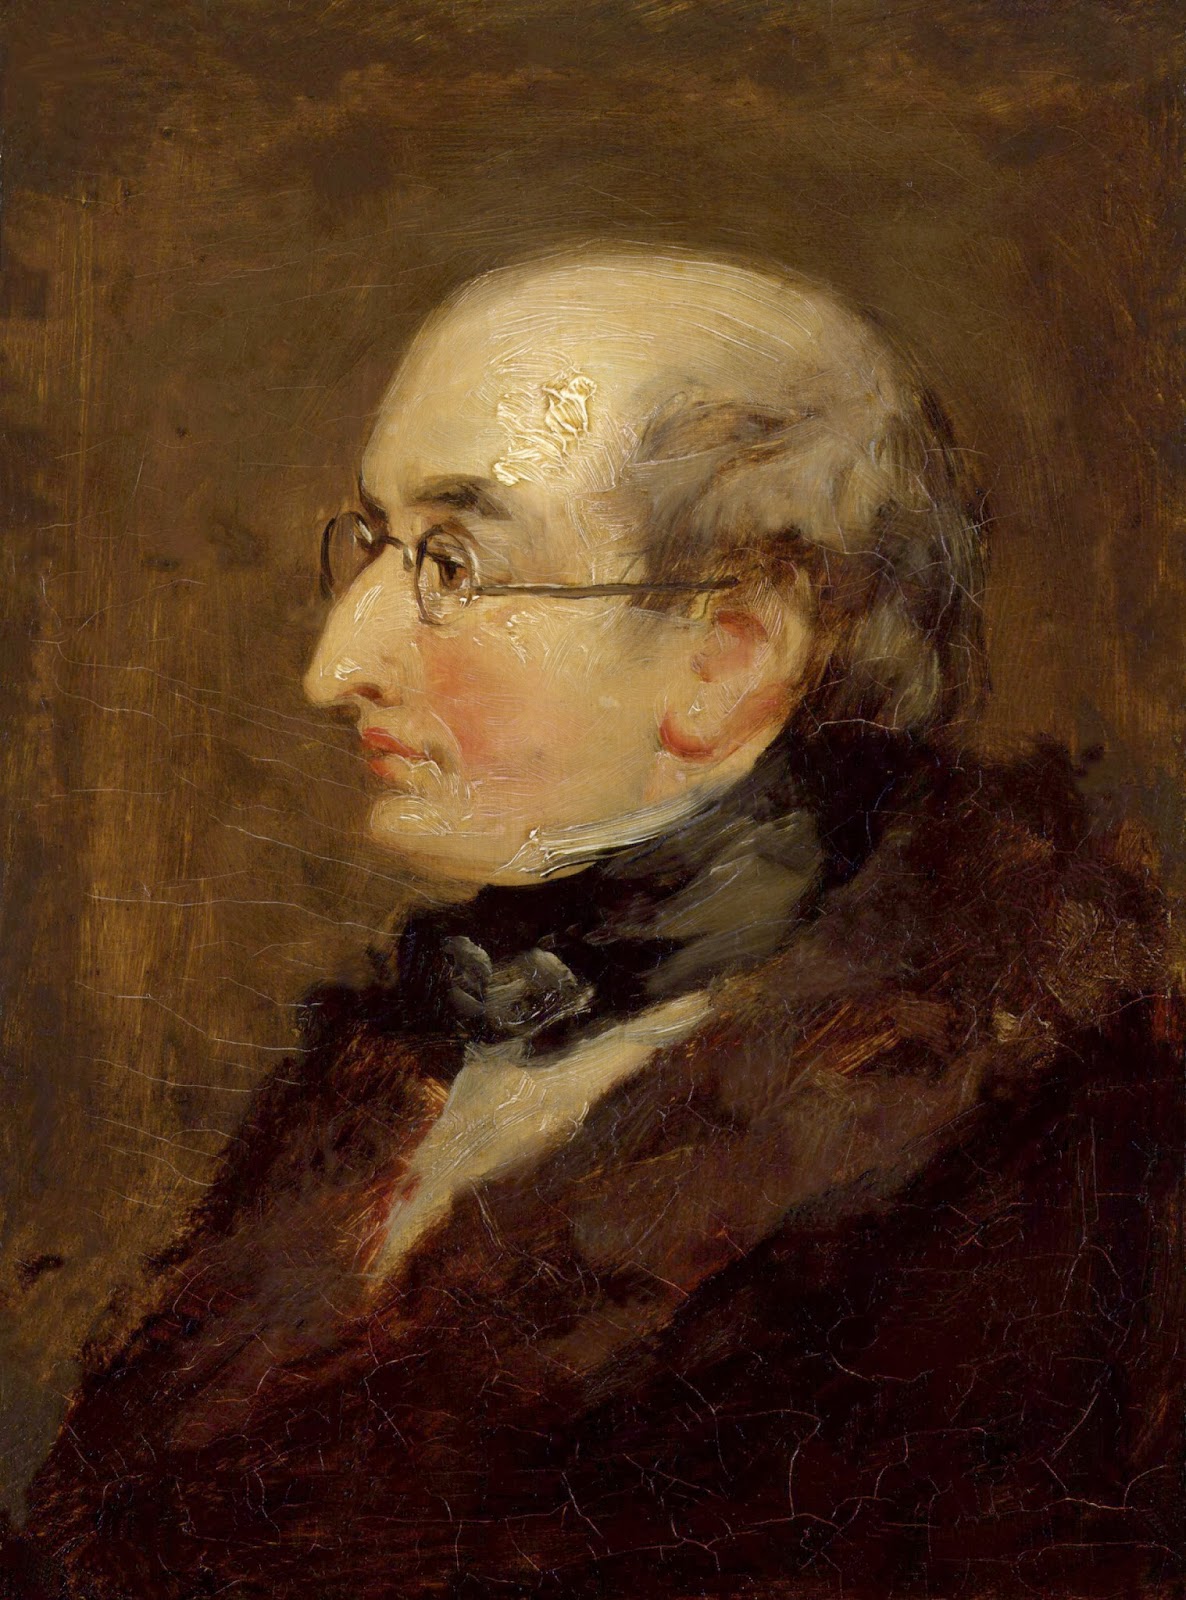
Hugo Koller by Egon Schiele (1918)
Hugo built the first power plant in Lower Austria to power the factory in Oberwaltersdorf which was owned by his father-in-law, Saul Pineles. After the death of his father-in-law in September 1903, Hugo and Broncia inherited Saul’s Oberwaltersdorf estate and had the main residence extensively rebuilt.

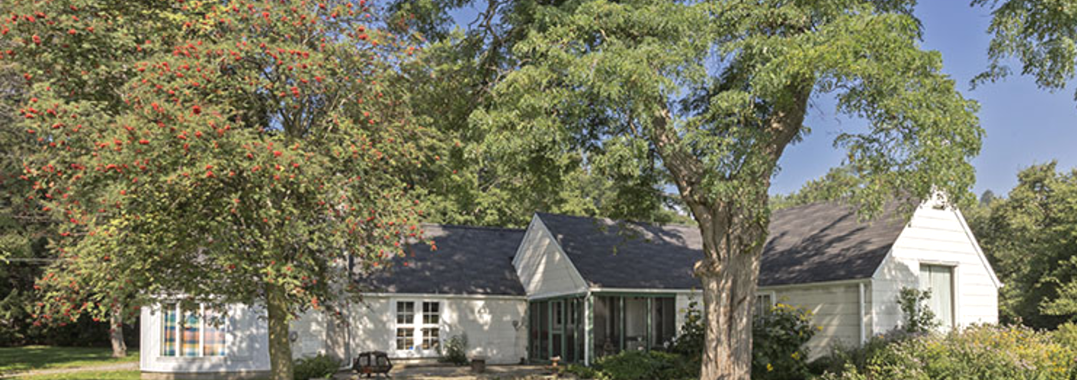
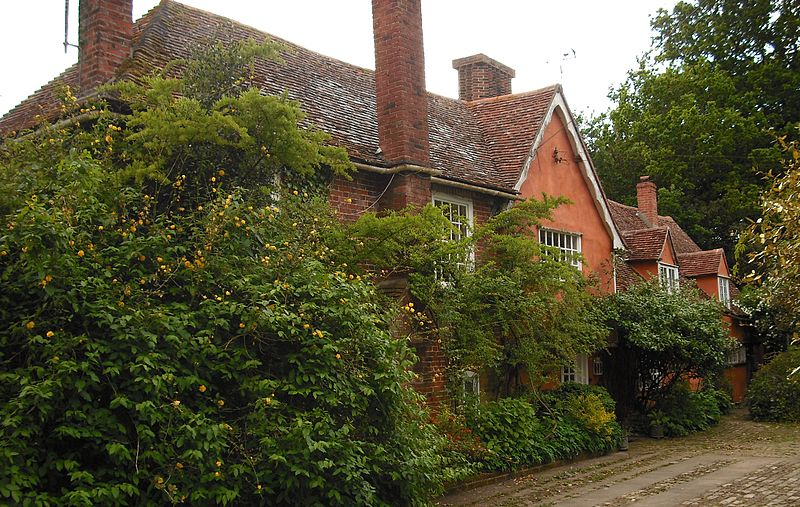
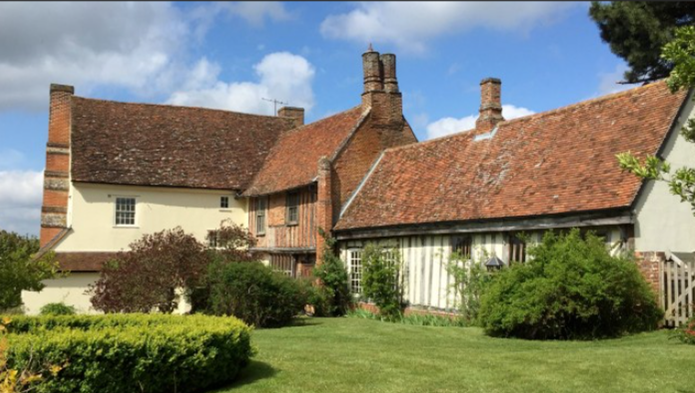
House Koller in Oberwaltersdorf (Vienna), Austria.
The couple would often entertain guests from the art world here such as Josef Hoffmann, Kolo Moser, Egon Schiele and Gustav Klimt, as well as philosophers, musicians, and scholars. Broncia Koller had a special relationship with Klimt and his group of friends and she would exhibit her work alongside this group of artists and in 1913 she became a member of the Bund Österreichischer Künstler founded by Klimt, Moser, Hoffman, and others.

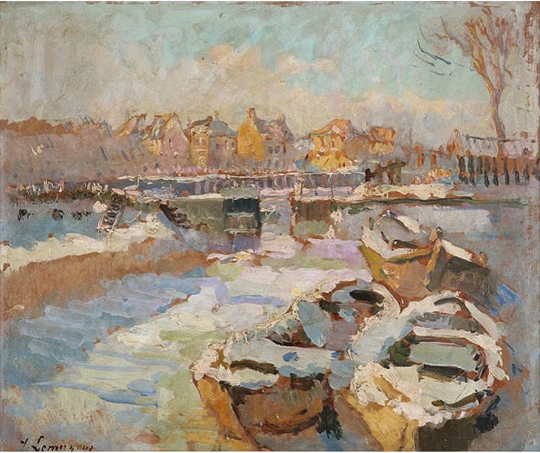
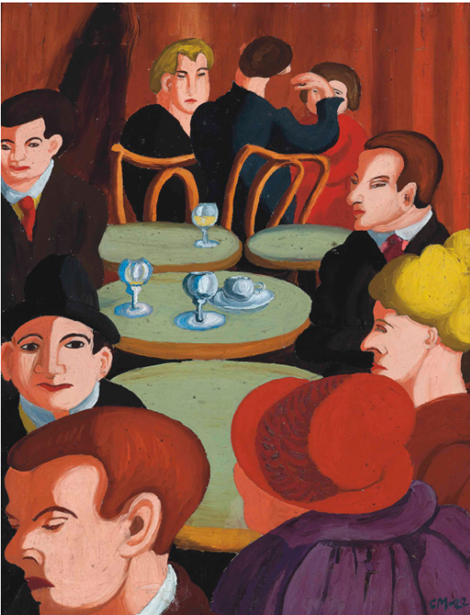
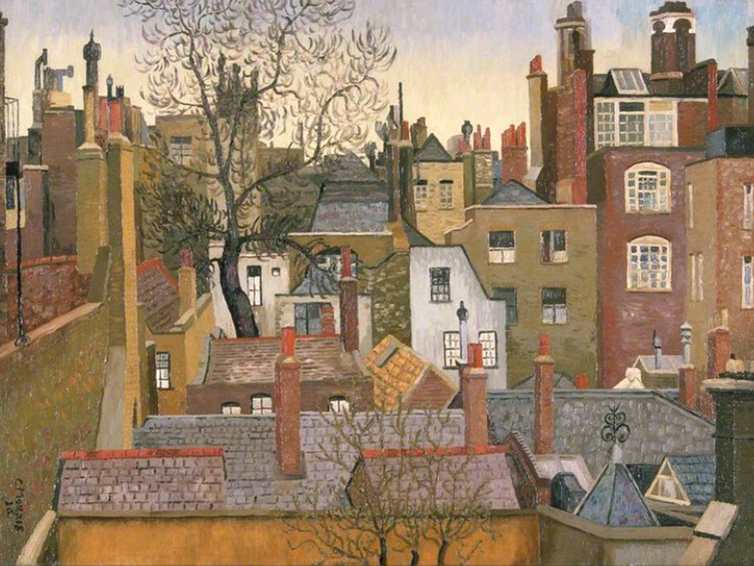
Erster Schnee” (Der Wiener Naschmarkt im Winter) by Broncia Koller-Pinell (1911)
Life’s pathway to being a respected artist was very bumpy for Broncia. There were two main reasons for this. Firstly she was a female and as such was looked down upon by some male art critics who, according to Albert Paris von Gütersloh, an Austrian painter and writer, despite her artistic accomplishments, her critics and even some of her “friends” labelled her with the stigma of being simply “the talented wife of a prominent husband” or “a painting housewife”. Sadly, like many Jewish women artists of her time, Broncia Koller-Pinell was supposed to fit into the male-ordained female role of just looking after the family and the home. The second reason as to why she had to fight all the way along her career path and parry male “put-downs” was that she was a prosperous Jew. That duel factor, coupled with the growing antisemitism in Austria after the First World War, was experienced ever more acutely by Broncia and other Jewish artists and their families.
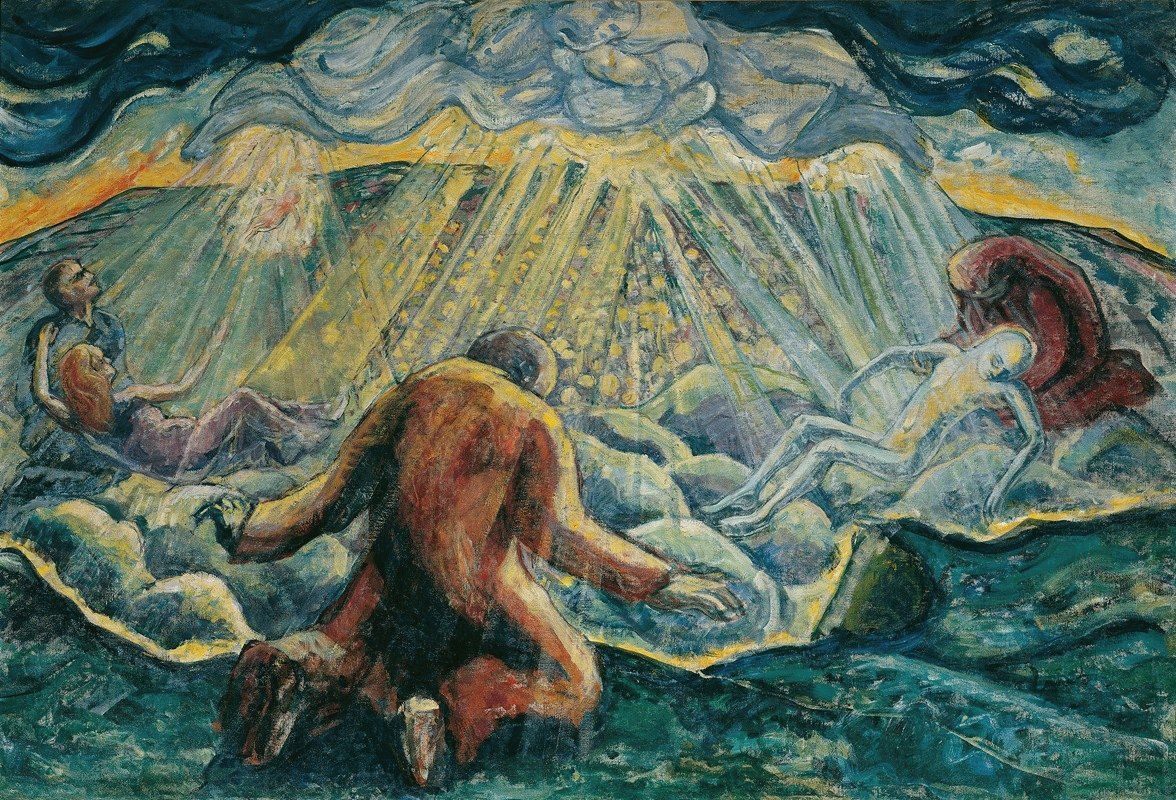
Werden und Vergehen by Broncia Koller-Pinell (1920)
Bronica Koller-Pinell died in Oberwaltersdorf on April 26th 1934, aged 71. Her husband died in October 1949.
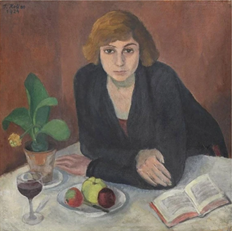
Junge Frau by Sylvia Koller (1924)
After completing her studies, her daughter Sylvia Koller worked as an artist in Vienna. She became a member of the Kunstschau and the Wiener Frauenkunst, at whose exhibitions she began entering her work in 1927. Being Jewish, it is probable that she was no longer allowed to work as an artist after the annexation of Austria. In 1937, three years after the death of her mother, she returned to Oberwaltersdorf and became a carer for her sick widowed father. In 1961, she organized the first posthumous exhibition of the work of her mother, Broncia Koller-Pinell. Silvia Koller not only posed for her mother several times but also for a number of artists including Egon Schiele. Sylvia died in 1988, two weeks before her eighty-fourth birthday.

Anna Mahler by Broncia Koller-Pinell (1921)
Anna Justine Mahler was the second child of the composer Gustav Mahler and his wife Alma Schindler. At the age of 16, Anna fell in love with a rising young conductor, Rupert Koller, the eldest child of Broncia Koller-Pinell and Hugo Koller. They were married on November 2nd 1920 but their marriage ended within months. She actually married and divorced five times during her life. Robert Koller was conductor at the Municipal Opera House in Elberfeld. He died in 1976.
I acquired a great deal of information for this blog from the following websites:
The Shalvi/Hyman Encyclopedia of Jewish Women
artvise.me: Viennese Modernism, 6 important female artists from 1900-1938